Background
This post captures the air movement changes I have made to my K40. My K40 is in my maker shed inside the house to avoid having to heat the machine during the winter. I also needed it near a PC which was in the same maker shed.My evacuation goals are:
- Support good cutting of light woods and acrylics up to 1/4"
- Not stink up the house
- Convenient access to the K40 with all the rest of the cra* .. stuff that is in my shed.
- Lowest cost per performance
- Low noise when running
- Maybe not enough flow
Donate:
Please consider donating (button to the right of this post).
Your donations help fund additional research, tools and parts that I will return to the community as information.For other information on the K40-S build use the K40-S BUILD INDEX with schematicsnity as information
Air Evacuation
Vacuum
I couldn't see why a shop vacuum with an adapter wasnt the perfect evacuation system. Bottom line is here is why its not a good idea:
- Very noisy
- Buildup in vacuum of resins from cutting destroys vacuum (I did not experience this but took that advice from users that use a K40 for high volume business).
The noise was unacceptable.

Fan
After trying the stock fan and a vacuum cleaner as a means of evacuating air from my K40 I finally landed on what most other folks are doing, add a strong blower. Its rated at 440CFM!

Ducting
This fan was duct-ed to the rear of the machine using 6 " duct (floor vent duct) from Lowes. The flanges for the stock fan were removed from the machine and the floor duct screwed, with self tapping screws, to the rear surface of the machine. A piece of sticky back foam was used as a gasket.


The 6" duct is the tinfoil type you can also get from Lowes. Many heavy wood cutting users have cautioned that this type of duct will accumulate resins in its groves but I elected to at least start with this cheaper stuff.
Exit Adapter
I needed to exit the fumes to the outside with no leaks. My windows pivot open from one side. I decided to make an adapter that fits on the window in place of the screen. I now use an updated unit with a piece of plastic (from an old big screen TV) so it does not block the light. The entire adapter is removable and the window can be closed with the windows normal crank with the adapter installed.
 |
| First version |

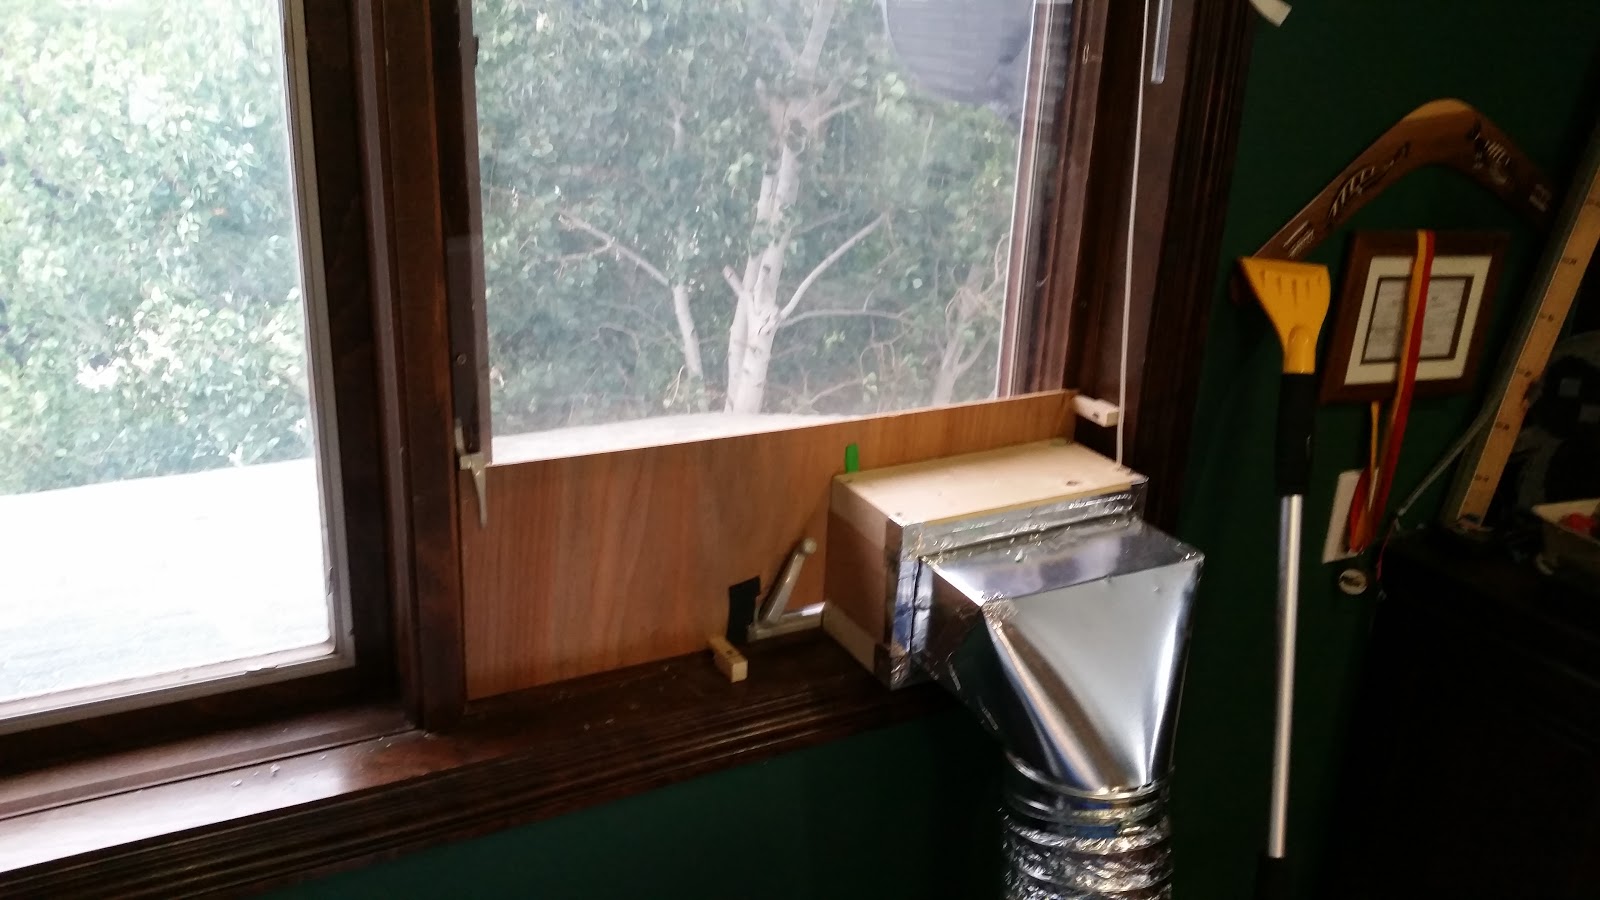 |
| Final Version |
Air assist
After a couple of failed attempts a making my own air assist using a pipe pointed at the cutting area and after learning that the assist also helped keep the final lens clean, I caved and got the Light Objects air assist nozzle like many others.

See this post for details of installing the LO air assist fixture.
See this post for improvements to the head and optical modelling
Initially I provide compressed air using a Harbor freight air brush compressor incl, filter that I had in the shop. I connected air to the head using a shop made "coily cord". Simply wind a clear piece of tubing (1/4" I think) around a mandrel that is about 1/2 the diameter you want the final coil to be and heat it with a heat gun until the plastic starts to shine. Then dip it in cold water.....
 |
| Note that I left the internal duct in the machine |
Update: I have removed part of the internal duct to leave more room for the gantry and changed the coily cord to a drag chain.
Drag chain installation
I bring air into the box using an adapter plate that I made and screwed to the back using an existing hole. The air brush hose is a weird size but I found a fitting kluge in my box that worked.
Drag chain installation
I bring air into the box using an adapter plate that I made and screwed to the back using an existing hole. The air brush hose is a weird size but I found a fitting kluge in my box that worked.
 |
| Older version of flange for air brush pump |

 |
| Simpler flange, soldered a 1/4" NTP brass barbed fitting to a piece of sheet metal. Then a little paining. You need to remove this plate to tension the belt. |
 |
| New version using 1/4 tubing and drag chain mounts |
 |
| Enters through the belt tension adjustment hole in the rear and follows the drag chain |
Air Assist Pump
I started with a Harbor Freight air brush pump but wanted that back in service in the shop. I changed to this pump.
1300GPH air pump
This pump has plenty of air and it very quiet (much less than the airbrush pump). It is also nice that the fitting on this are standard 1/4" whereas air brush pumps have strange size fittings. The only downside that this pump may have it that it is a diaphragm pump and therefore pulses. If that becomes a problem I may add a simple PVC accumulator.
Results to date
Although I have not done much production cutting I was pleased with the initial results I got cutting acrylic.
- I have very little smell in the house
- The noise is acceptable
- It is compatible with my Maker shed
- It cuts nice ....

Improvements
I am not sure if I need the air assist? Yet everyone uses it. The blower creates a hurricane in the box and the fumes and smoke are ripped away from the cutting area. I have a hard time imagining that any smoke could go up into the lenses or that the air assist provides more air movement than this fan. Some say that the air assist interjects oxygen into the cutting gap... I will do some testing when I get the full K40-S done.
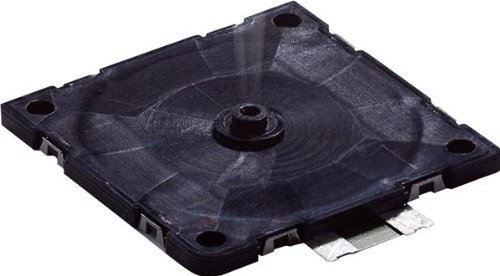
High Tech Pump?
I also wonder if it is possible to use a micro-pump mounted directly on the head. This pump only puts out a few CFM but it does not have to feed a few feet of hose. Guess I need to determine exactly what pressure is needed at the cutting area. BTW you can stack these pumps but that may be to expensive.
 |
| My experimental pump with drive, yep cut on the K40 |
Enjoy and comment
Maker Don
This comment has been removed by a blog administrator.
ReplyDelete